Configure Audit Trace Tables
|
|
 PREREQUISITES:
- From the home page, click Permitting and click Audit Trace Setup.
 TIP: To limit the number of tables displayed, enter the first few letters of the table name you want to configure in the Filter (Table Name) field on the Audit Trace Setup panel and observe the search results. To see all available tables, leave the Filter (Table Name) field blank (or reset it by clicking X, and scroll down the page.
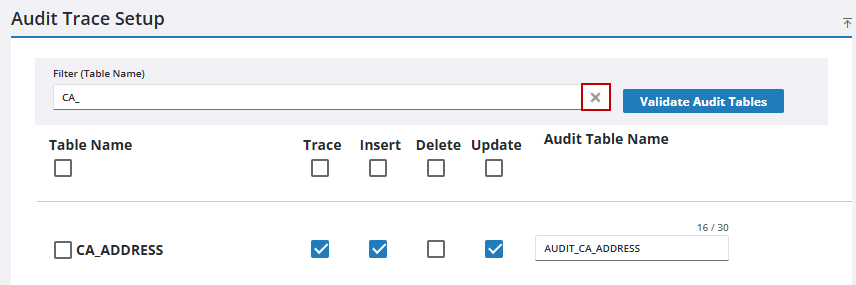
- On the Audit Trace Setup panel, configure the desired tables using the Table Name, Trace, Insert, Delete, and Update check boxes.

 NOTE: Changes are automatically saved and verified by a notification at the bottom of the page.
TIP: Use the top level check boxes to apply batch configuration actions to all tables. For example, click the top level Update check box to apply the update action to all tables that are present within the panel.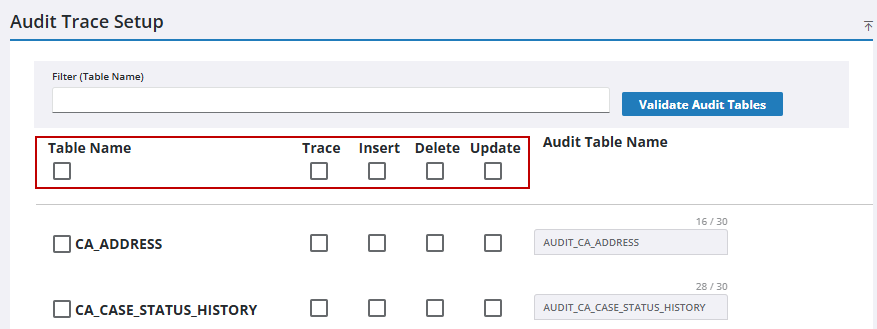
- Click Validate Audit Tables to validate the selected tables.
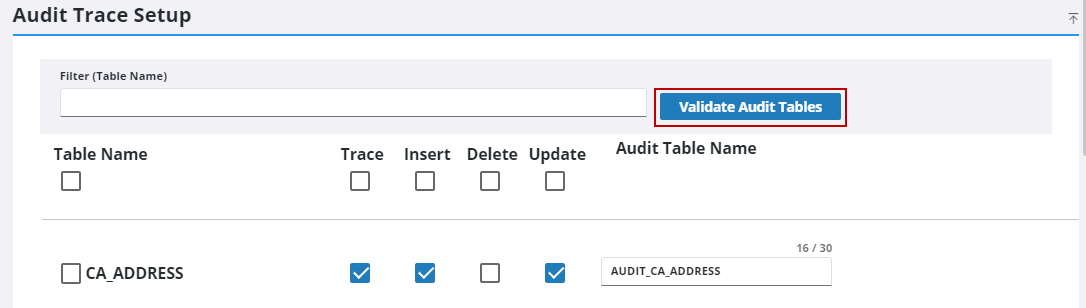
A notification pops up at the bottom to confirm the validation has been successful.
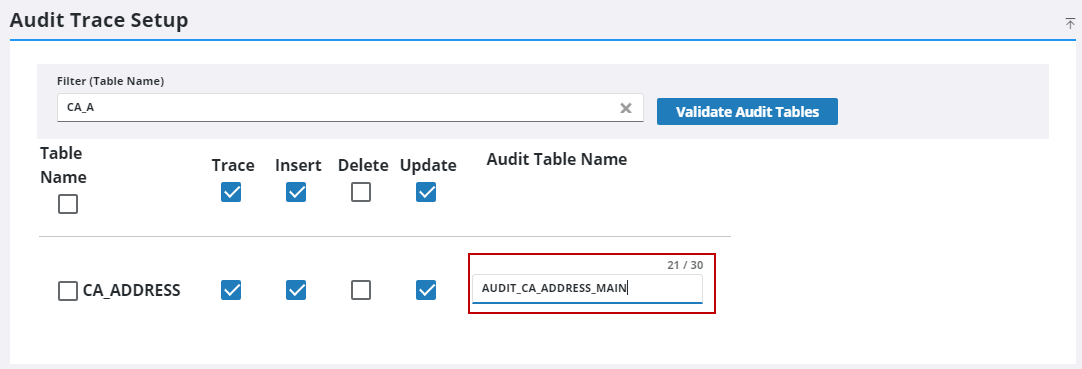
- If desired, you can customize a table name using the text field that appears in the Audit Table Name column.
NOTE: Changes are automatically saved and verified by a notification at the bottom of the page.

