Add a Notification Condition
This section outlines how to add a new notification condition.
|
|
 PREREQUISITES:
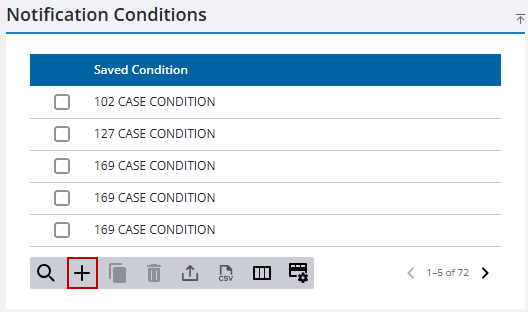
- From the home page, click Permitting or Configure and click Notification Conditions.
- On the Notification Conditions panel, click Add record.
 NOTE: Multiple records can be added or edited at the same time. See Perform a Bulk Export or Bulk Import for more information.
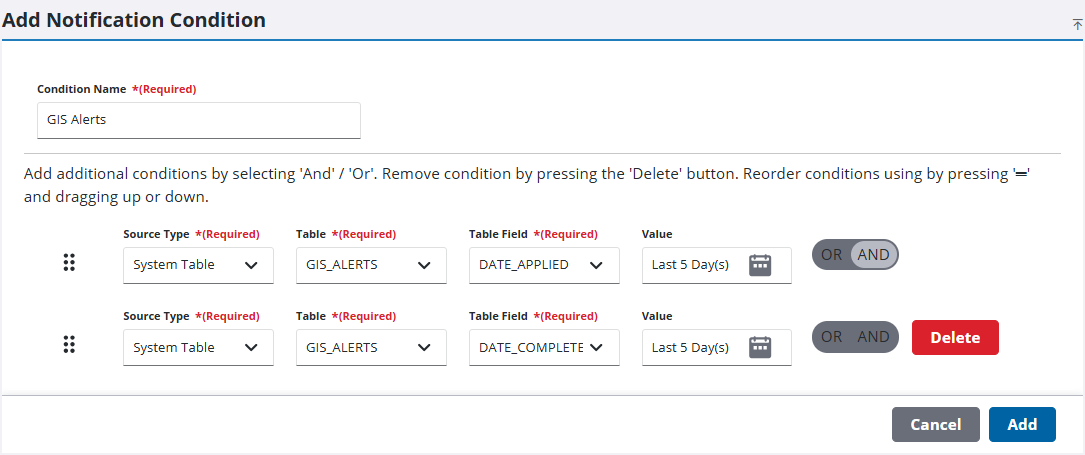
- On the Add Notification Condition panel, enter a name in the Condition Name field.
- Select a value from the drop-down list in the Source Type field. The type selected determines the next available options.
- Select a value from the drop-down list in the Table or Map Layer field. The selection you make determines the next available options.
- Select a value from the drop-down list in the Table Field or Map Layer Field field.
- Select a value from the drop-down list in the Operator field. If a date-related option is selected in Table Field, the Operator field does not display.
- Enter a value in the Value field.
|
|

- If desired, click Or / And to add additional conditions.
- Click Delete to remove any unwanted conditions.
- Click Add to save the notification condition.