Configure the Utility Network
For each asset, you must identify the utility network service that is associated with it.
|
|
 PREREQUISITES:
 IMPORTANT: The Cityworks mobile apps do not support the Utility Network.
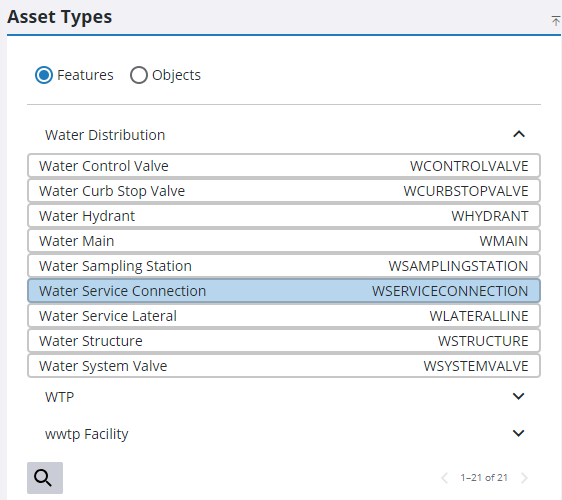
- Select either Features or Objects.
- Expand an asset group and select an asset type.
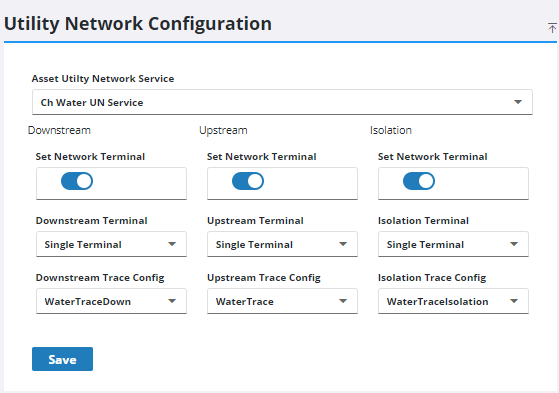
- Select the Asset Utility Network Service that is associated with the asset type. Only the utility network layers associated with the asset type appears in this drop-down list.
- Click Set Network Terminal, if desired, otherwise the default TerminalId is 1.
- If you selected Set Network Terminal, set the Downstream Terminal, Upstream Terminal, or Isolation Terminal.
- Select the Downstream Trace Config, Upstream Trace Config, and Isolation Trace Config.
- Click Save.
Once this is set up for the asset type, if an asset is added to a standard inspection the utility network can trace the upstream or downstream entities.
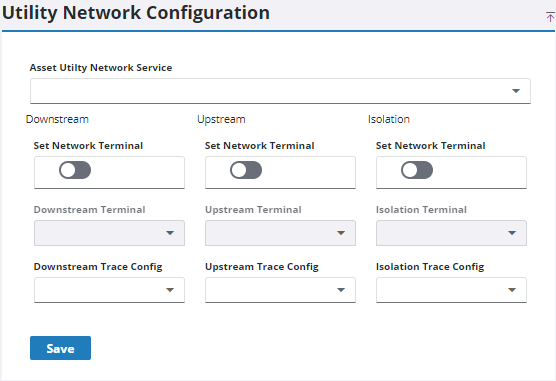
- Select the Asset Utility Network Service. Only utility network layers associated with the selected asset type appears in the drop-down list.