Configure Permitting Preferences
|
|
 PREREQUISITES:
- From the home page, click Admin and click Preferences.
- Click the Permitting tab.
 TIP: The Respond cache needs to be cleared whenever preferences are updated to ensure changes are reflected in the app. See Clear Cached Data in the Respond Guide for Trimble Unity Maintain and Trimble Unity Permit for more information.
- Expand the General section.
- Turn on Hide Codes in Respond to hide the code identifier wherever the code~description is displayed in Respond.
If the switch is not turned on, the codes remain visible.

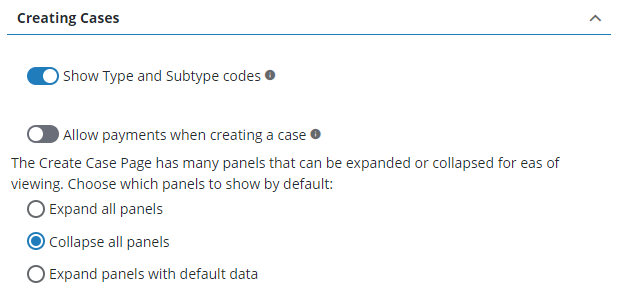
- Expand the Creating Cases section.
- Turn on Show Type and Subtype Codes to see the case type or subtype codes in the Case Type drop-down list, in addition to the case descriptions when creating a case.
- Turn on Allow Payments when creating a case to let payments be completed while payments are created.
If this switch is turned on, the Fees panel appears after a user saves an application for a new case, allowing the user to make a payment towards the fees associated to the new case, or to skip the payment and click Go To Summary. If the switch is not turned on, the user is taken automatically to the summary page upon saving a new application. Payments toward fees can then be made using the choose action drop-down list to select Pay Fees, either on the summary page or the home page.
Administrators can decide whether the controls on the Case Create page are expanded or collapsed by default.
- Select either Expand all panels, Collapse all panels, or Expand panels with default data.
- Expand the Data Group section.
- Turn on Yes/No Checkbox Flag Value if you would like the case data detail entries to be populated with No by default, regardless of whether or not Skip Intake is selected.
If the switch is not turned on and Skip Intake is not selected, the case data detail entries are populated with No. If the switch is not turned on and Skip Intake is selected, the data detail values remain null (no selection or Yes or No).
- Turn on Display Grand/Group Sum Value if you want this automatically enabled on a case in Respond.

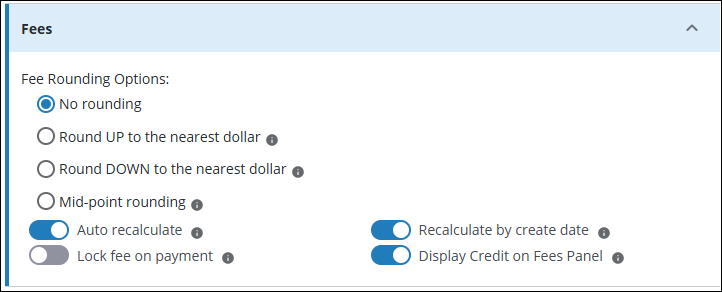
- Expand the Fees section.
Administrators can control if and how fees are rounded in Trimble Unity Permit.
- Under Fee Rounding Options, select the rounding option you prefer.
Administrators can control whether the Auto Recalculate, Recalculate by Create Date, and the Lock Fee on Payment switches on the Fee Setup panel are turned on or off by default. You can also hide the Credit field on cases in Respond.
- Turn on Auto recalculate.
- Turn on Recalculate by create date.
- Turn on Lock fee on payment.
- Turn on Display Credit on Fees Panel.
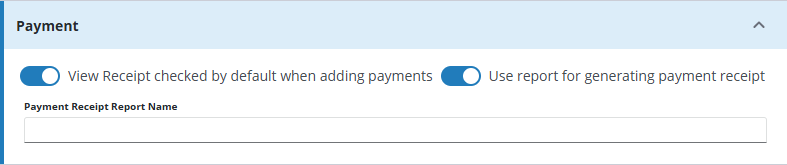
Administrators can configure Trimble Unity Permit so that the View Receipt check box on the Add Payment panel is selected by default.
- Expand the Payment section.
- Turn on View Receipt checked by default when adding payments.
- Turn on Use report for generating payment receipt to use a custom ActiveReports template for the receipt.
 IMPORTANT: The custom report must first be created in the Report Designer or uploaded in System Reports before it can be designated as the report to be used to generate receipts. The report must have a ReceiptID parameter added to it. See Create a Report in the Respond Guide for Trimble Unity Maintain and Trimble Unity Permit or Add a Report for more information.
- Enter the Payment Receipt Report Name if the previous preference is on. Enter the name with .rldx at the end, for example PaymentReceipt.rldx.
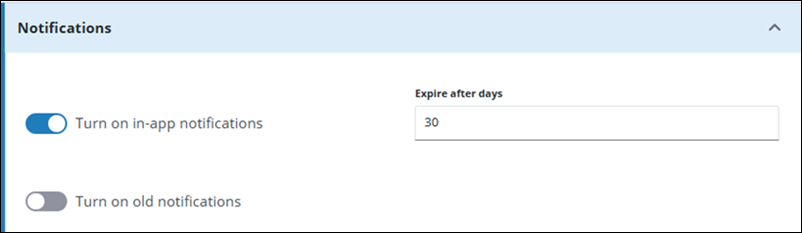
- Expand the Notifications section. Administrators can enable notifications for Respond that alert users of certain activities, such as when they are mentioned in a comment on a case.
- Turn on the Turn on in-app notifications switch to receive notifications in Respond.
- Enter a number in the Expire after days field to indicate how many days notifications will be stored before being automatically removed from the system.
- Turn off the Turn on old notifications switch to ensure the newer notification system is active and block the old notification system. Turn on the Turn on old notifications switch to allow old notifications and newer notifications to function at the same time which could cause duplicate notifications.
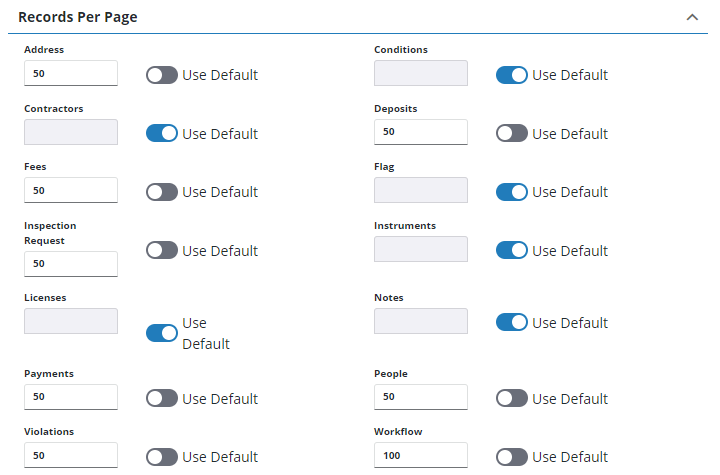
- Expand the Records Per Page section. Administrators can control how many records appear on each panel. The default setting is ten records per list page.
- Turn off Use Default and enter the custom number of records to display per list page.
- Optionally, turn on Use Default to display ten records per list page.
- Expand the Audit Trace Table Names section.

Administrators have the option to enable parallel processing, which can improve creation time for cases with large amounts of case data to process.
IMPORTANT: Consult your system admin before selecting this option. Parallel processing is NOT supported and should NOT be selected if the database contains triggers.
- Expand the Performance section.
- Turn on the Turn On Parallel Processing switch.

 NOTE: Changes are automatically saved and verified by a notification at the bottom of the page.

