Add a Permit Task
Tasks are used to create workflows for case templates. Each task controls when the workflow can progress, what conditions must be met first, what the case status is, and what the next step in the workflow is.
|
|
 PREREQUISITES:
 NOTE: Multiple records can be added or edited at the same time. See Perform a Bulk Export or Bulk Import for more information.
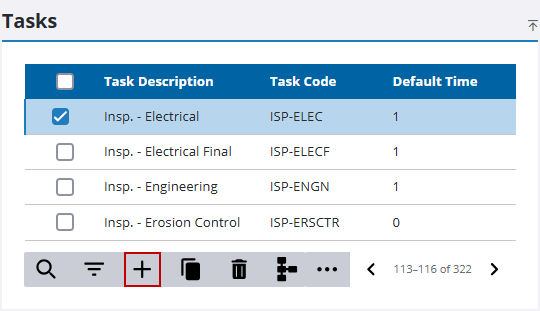
- From the home page, click Permitting and click Task Setup.
- On the Tasks panel, click Add record.
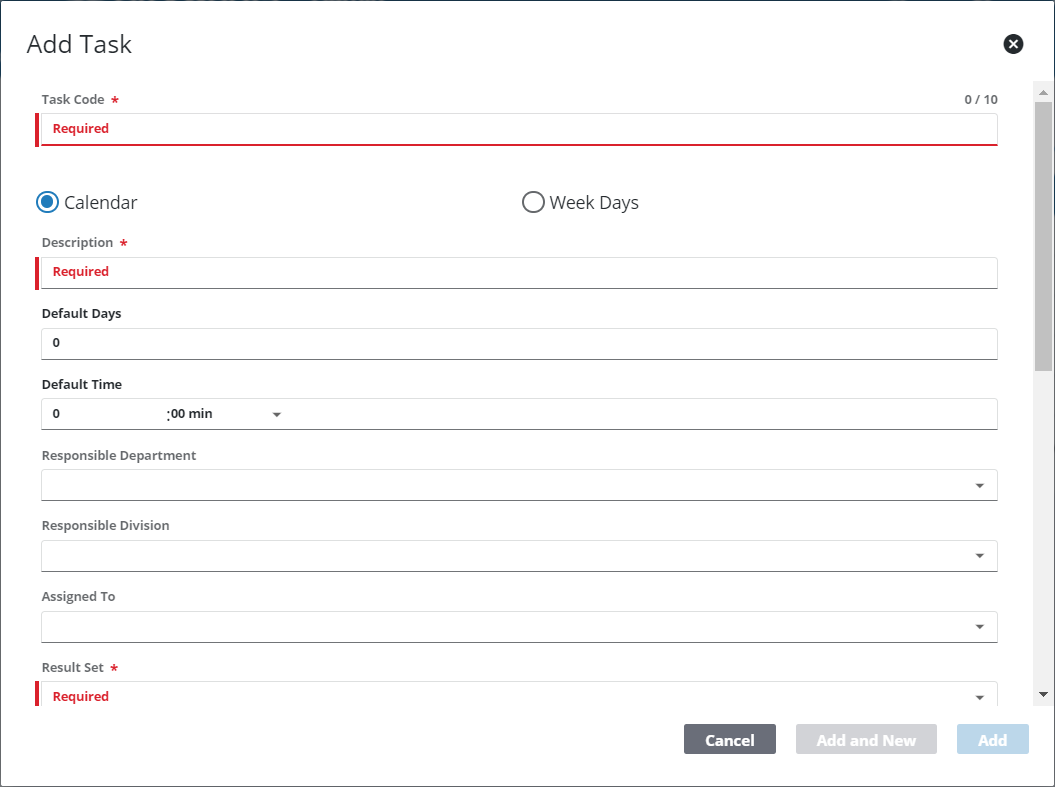
- On the Add Task panel, enter a 10-character (maximum) code in the Task Code field.
- Enter a brief explanation of the task in the Description field.
- Decide whether the duration of the task is measured in Calendar or Week Days and select the appropriate option. Then enter the average number of days and hours you expect the task to take in the Default Days and Default Time fields.
 IMPORTANT: A value is required in either the Default Days or Default Time field to avoid errors that might occur when attempting to schedule an event for zero time. Although the fields will both populate with a zero value if left empty during creation of a task, it is best to enter the number of days and hours you expect the task to take.
- Click the Responsible Department drop-down list to select the department this task belongs to.
- If applicable, use the Responsible Division drop-down list to select the division this task belongs to.
- Use the Task Type drop-down list to define what kind of task you are creating. See Task Setup (Permit) for more information.
- If there is a hearing associated with the task, use the Hearing Type drop-down list to select the appropriate hearing type.
- If the task is normally given to a specified user, use the Assigned To drop-down list to select that person.
- Click the Result Set drop-down list to select a set of possible results for the task.
- Select the Auto Schedule Insp check box if you would like to automatically schedule any necessary inspections for the task.
- Enter the number of days that inspections are automatically scheduled in advance in the Auto Schedule Insp Days field.
- Enter the estimated number of hours the inspection takes in the Auto Schedule Insp Time field.
- If a specific discipline or trade (such as a contractor, plumber, engineer, roofer, etc.) is required for the task, use the Discipline drop-down list to select it.
- Use the Checklist drop-down list to select the appropriate correction group for the task.
- Select the Anonymous and Registered check boxes to make the task available to guest users and registered Public Access users, respectively.
- Select the Require Corrections check box if there are items that need to be inspected or checked automatically.
- Select the Allow Signature check box to enable signature capture in Respond. See Capture Signatures on Inspections in the Respond Guide for Trimble Unity Maintain and Trimble Unity Permit for more information.
- Select the Copy Comments on Insert check box to copy comments if automatically inserting the same task.
- If the task is an inspection, the Allow Concurrent Scheduling check box is present. Select this option to allow multiple inspections to be scheduled for the same time slot in Public Access.
- Click Add or Add and New to add the task and create another one.
NOTE: The Review Config panel provides visibility of where a selected data item (such as a case type, user, status code, or other Trimble Unity Permit item) is being used. See Review Permit Configurations for more information.

