Complete a GIS Alert
When an alert is no longer needed or has been resolved, you can mark it as complete. Only active alerts are displayed in the GIS Alerts panel, but completed alerts are maintained in the database.
|
|
 PREREQUISITES:
- Open a case and navigate to the GIS Alerts panel.
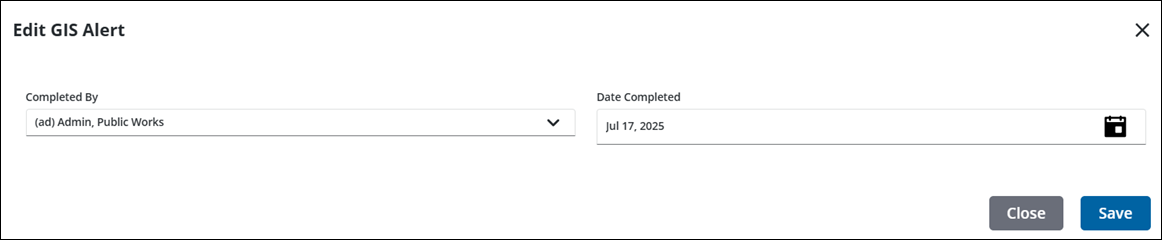
- Click the edit icon to the right of the alert to open the Edit GIS Alert panel.
 TIP: You can filter the list of records displayed. See Filter Records for more information.
The Applied By and Date Applied fields are populated by the user ID of the person who applied the alert to the case and the date it was applied. These cannot be changed.
- Select who the alert is Completed By.
- In the Date Completed field, enter a date, double-click in the field to enter today's date, or use the calendar icon.
- Click Save. If Save is selected after entering the completed date but before selecting who completed it, the Completed By field populates with the current user's login.

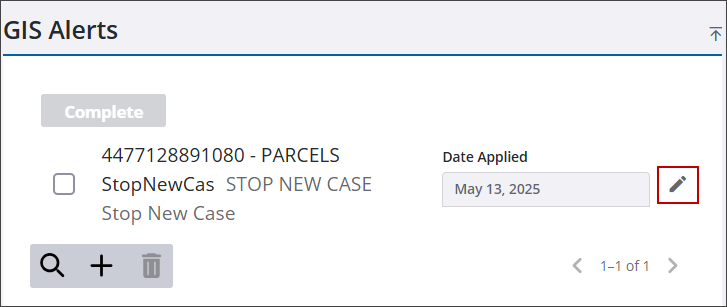
- Open a case and navigate to the GIS Alerts panel.
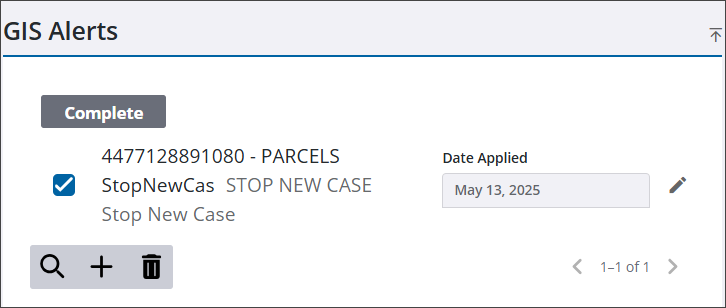
- Select the GIS alert you want to mark as complete.
TIP: You can filter the list of records displayed. See Filter Records for more information.
- Click Complete to open the Edit GIS Alert panel.
The Completed By and Date Completed fields are populated with the current user's login and date, but can be changed if desired.
- Click Save.
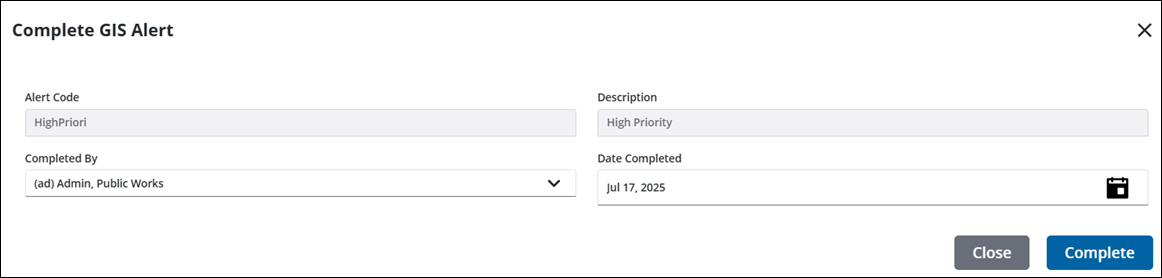
You can complete a GIS alert from the alerts displayed across the top of the summary page.
- Click a GIS alert notification.
The Complete GIS Alert panel opens. The Completed By and Date Completed fields are populated with the current user's login and date, but can be changed if desired.
- Click Complete.