Configure Attachments for ActiveReports
To bring in attachments, start by adding a data source, then create a parameter if needed, next, create a query to retrieve the attachments you want, and finally ensure the report is configured correctly.
|
|
 PREREQUISITES:
First, a custom data source must be added that allows access to attachments or GIS thumbnails that can be added to reports.
- Open the Report Designer.
- Click the Data tab and click Add.
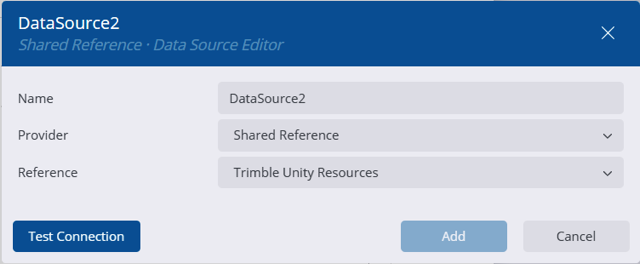
- Enter the Name of the data source.
The Provider is set to Shared Reference.
- Select Trimble Unity Resources as the Reference.
- Click Test Connection.
- Click Add.
If you are building a query that brings in attachments based on the work activity ID entered when viewing the report, a parameter must be configured first before the query is built in the data set.
 IMPORTANT: Before adding the parameter, the field must be brought in through a data set linked to the Trimble Unity SQL data source. See Add a Data Set for more information. IMPORTANT: Before adding the parameter, the field must be brought in through a data set linked to the Trimble Unity SQL data source. See Add a Data Set for more information. |
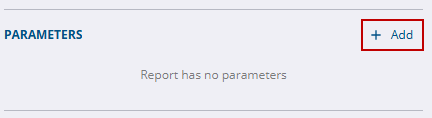
- In the Parameters section click Add.
- Select the parameter.
- Enter a Name for the parameter.
- Enter the Prompt.
- Select the applicable Data Type. See Print Parameters to see which data type should be selected.
- Under Available Values, select From Query.
- In the Data Set Name drop-down list, select the data set.
- Select the Value and Label Fields.
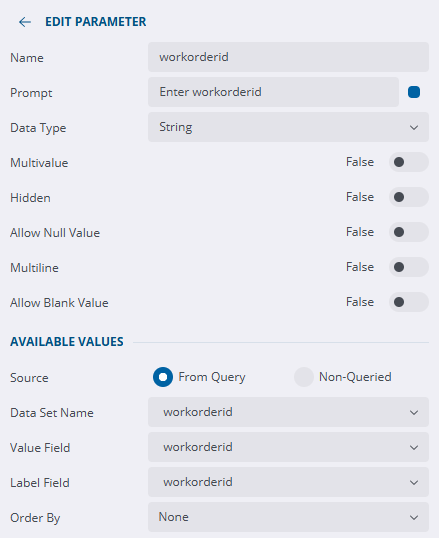
- Click the back arrow next to Edit Parameter.
Now a data set can be added.
After a custom data source is added, a data set should be added with a query pointing to where the wanted attachments are.
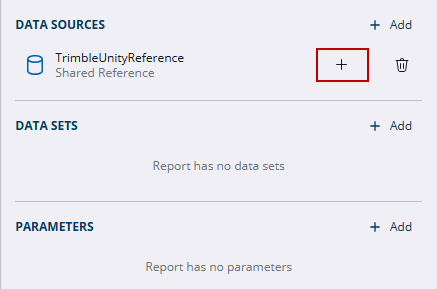
- Click Add Data Set next to the TrimbleUnityReference data source in the Data Sources section.
- On the New Data Set panel, confirm it says Based on TrimbleUnityReference at the top of the panel. Attachment data sets must be based on this data source.
- Edit the Name of the data set. Data set names cannot have spaces, but underscores or camel case can be used.
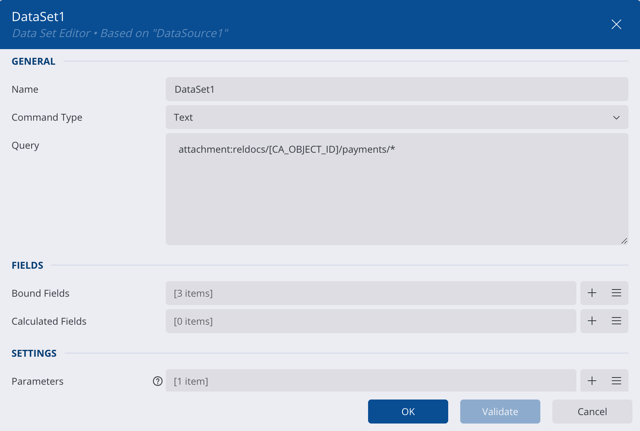
- Select Command Type. The default is Text.
- Enter something similar in the Query field to connect to the files wanted:
 TIP: Use an asterisk (*) in a query at the end to pull in all attachments in a folder. If all attachments for an activity are configured to be added to a report, even those attachments which have been added and then removed from the work activity appear on the report.
- GIS Thumbnails
- thumbnail:WorkOrder*
- This query fetches all work order related map images for the work order ID entered when the report is viewed.
- thumbnail:Case*
- This query fetches all case related map images for the case ID entered when the report is viewed.
- thumbnail:Inspection*
- This query fetches all inspection related map images for the inspection ID entered when the report is viewed.
- thumbnail:Request*
- This query fetches all request related map images for the service request ID entered when the report is viewed.
- Attachments
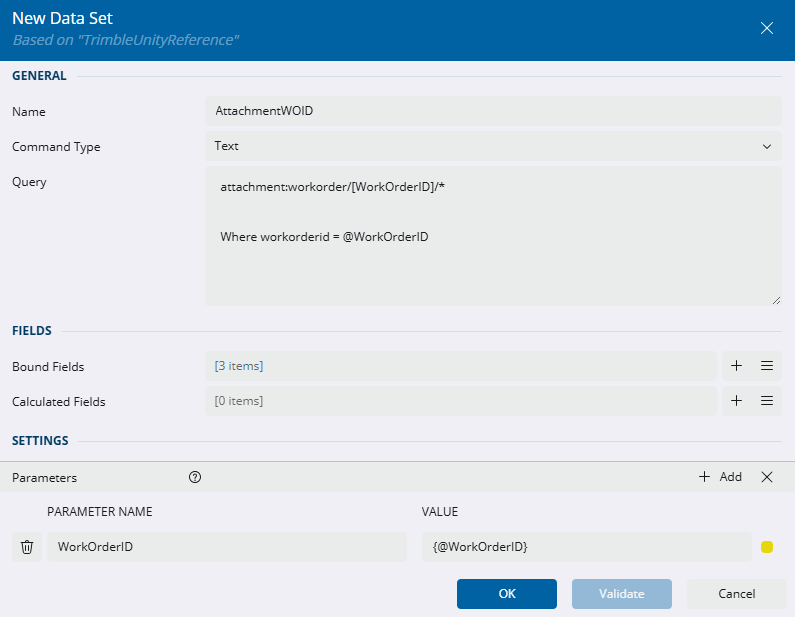
- attachment:WorkOrder/[WorkOrderID]/*
- This query fetches all attachments related to the work order ID entered when the report is viewed.
- attachment:Inspection/[InspectionId]/*
- This query fetches all attachments related to the inspection ID entered when the report is viewed.
- attachment:Request/[RequestId]/*
- This query fetches all attachments related to the service request ID entered when the report is viewed.
- attachment:Case/[CA_OBJECT_ID]/*
- This query fetches all attachments related to the case ID entered when the report is viewed.
- attachment:reldocs/[CA_OBJECT_ID]/payments/*
- This query fetches all payment attachments related to the case ID entered when the report is viewed.
- attachment:reldocs/[CA_OBJECT_ID]/tasks/*
- This query fetches all task attachments related to the case ID entered when the report is viewed.
IMPORTANT: A parameter must be configured if you are entering the ID of a specific work activity when viewing the report. See Create a Parameter for more information.
TIP: Instead of using a parameter and entering an ID, you could enter the specific ID number in the query to pull all attachments from that specific work activity. Additionally, instead of using the asterisk (*), you could enter the specific image file name wanted.
- Click Validate.
Either a success message or error message appear. If an error message appears, consult the query syntax and adjust accordingly.
- If a success message appears, click OK.
If you are setting up a data set that includes a parameter, follow the steps below.
- In the Settings section, click the plus icon next to the Parameters field.
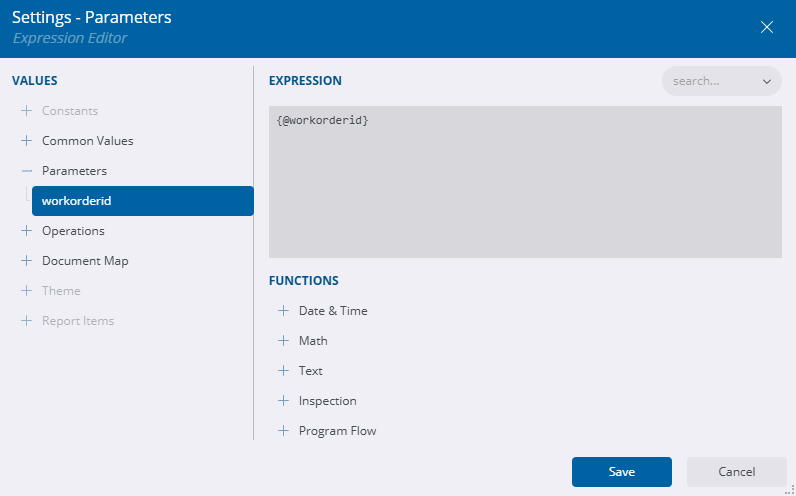
- Change the Parameter Name to your parameter name, for example workorderid.
- Click the Data Binding icon to the right of the Value field.

- Select Expression.
- Expand Parameters.
- Double-click the parameter name you created, for example workorderid.
- Click Save.
- In the Query field, add a where statement: Where <field_name> = @<parameter_name>
For example, Where workorderid = @workorderid
The data set should look like the example below.
- Click Validate.
- Click OK.
 WORKAROUND: When a data set is updated or rebound, the data set is cleared from a banded list and a table. After updating a data set, select the banded list or table in the report to open the Banded List properties. Select the correct Data Set Name from the Data section to re-establish the link. If it's not updated, no results are returned when the report is generated.
- Drag Table in the report from the AR Web Designer toolbar and remove all the tables and columns so it leaves one cell.
- Expand the cell.
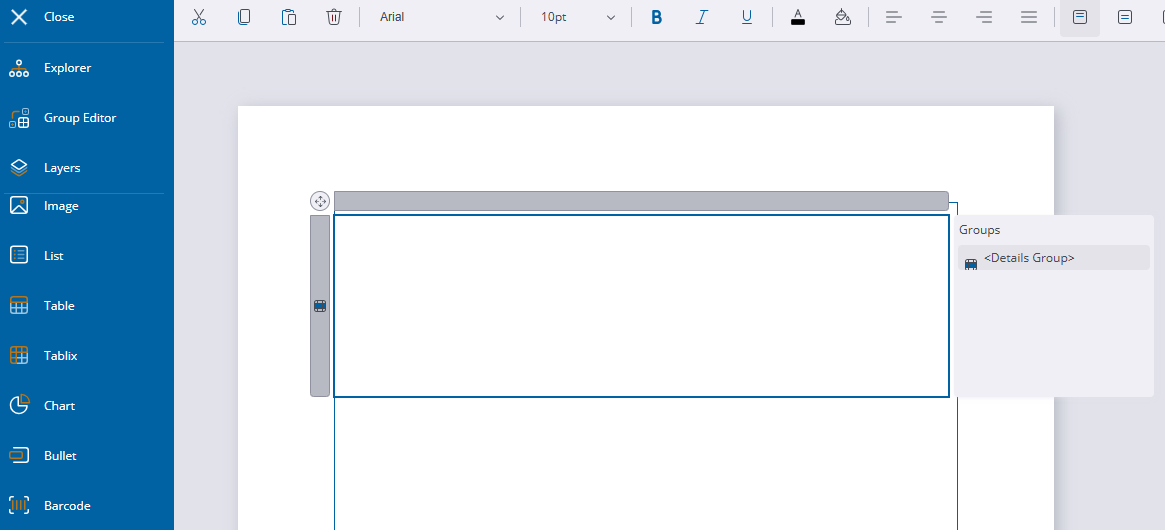
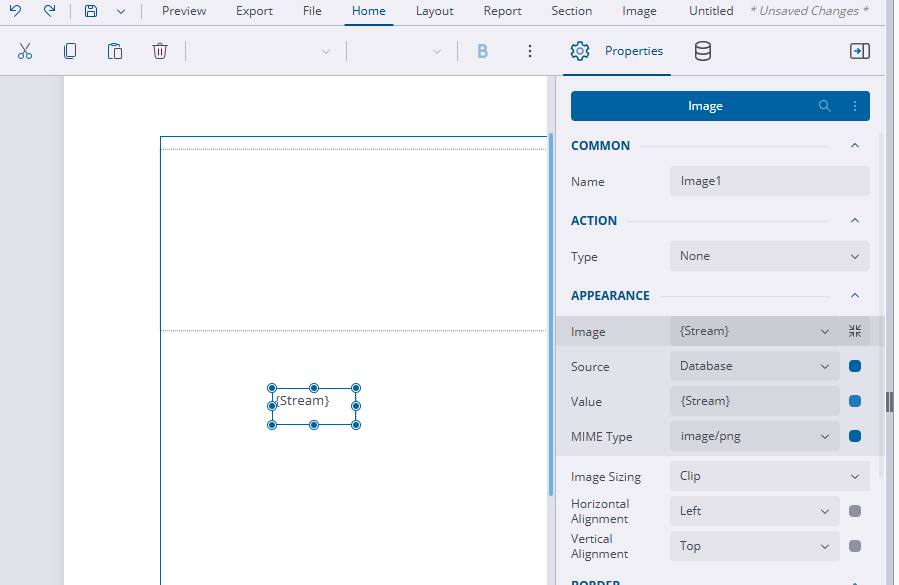
- Drag Image into the report from the AR Web Designer toolbar and select the image box.
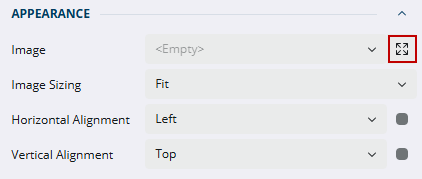
- On the right-side under the Appearance section, and click Expand to the right of the Image field.
- Select Database from the Source drop-down list.
- Enter {Stream} in the Value field.
- Select image/png from the MIME Type drop-down list.
- Select Fit from the Image Sizing drop-down list.
- Drag the image control into the table.
IMPORTANT: If you add an image control and render the stream content in it outside of a table or in a container, only the first image in the series renders. No images render in a banded list.

