Group Report Data
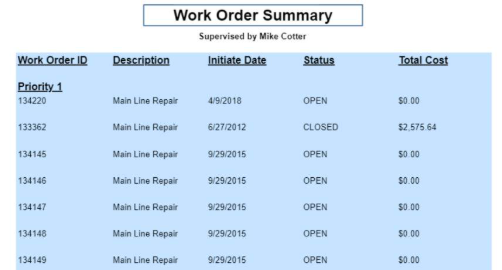
Grouping sorts data even further by grouping records together that have the same value or range. For example, grouping by priority.
- Open the Report Designer.
- Click the table and click the row icon to the left of the row to select the entire row.

- Right-click the row icon.
- Click Group and Insert Group.
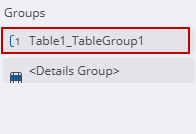
- In the Groups panel, select the Table 1.

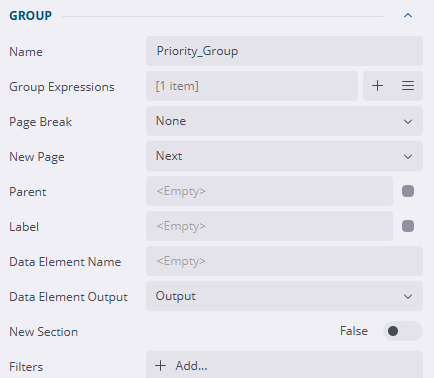
- In the Properties tab, enter the Name for the group.
![]() NOTE: The name cannot have spaces, but underscores or camel case could be used instead.
NOTE: The name cannot have spaces, but underscores or camel case could be used instead.

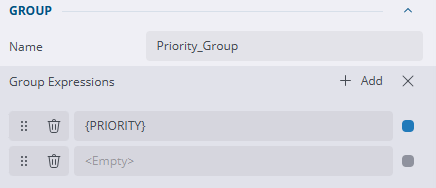
- Click Add item next to the Group Expressions field.
- Click the Data Binding field to the right of the field and click the field you'd like to sort the group by even further.

- Add a Page break after each group section if desired.
- Additional filters can be applied to the group.
- A Sort Expression can be added to sort the group by ascending or descending as well. For example, priority descending.
- Select the header row and click the one to the left of the row.

- Click the three dots icon and select the header field.

- Click Save.
- Click Preview to see if the report looks as expected. See Preview a Report for more information.


