Add a Case Type
Adding a new case type allows you to control how certain kinds of cases behave, such as how they are numbered, when they expire, which department and division they are assigned to, and which status codes apply to it.
|
|
 PREREQUISITES:
 NOTE: Multiple records can be added or edited at the same time. See Perform a Bulk Export or Bulk Import for more information.
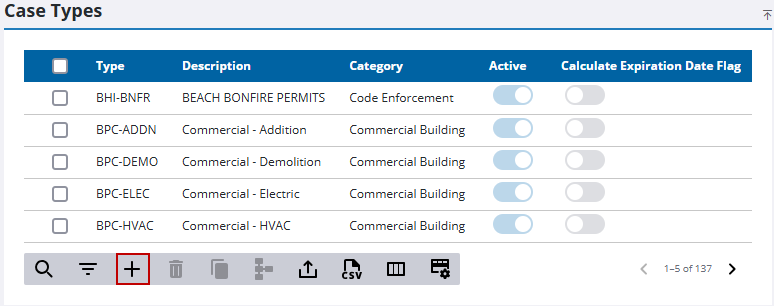
- From the home page, click Permitting and click Case Types.
- On the Case Types panel, click Add record.
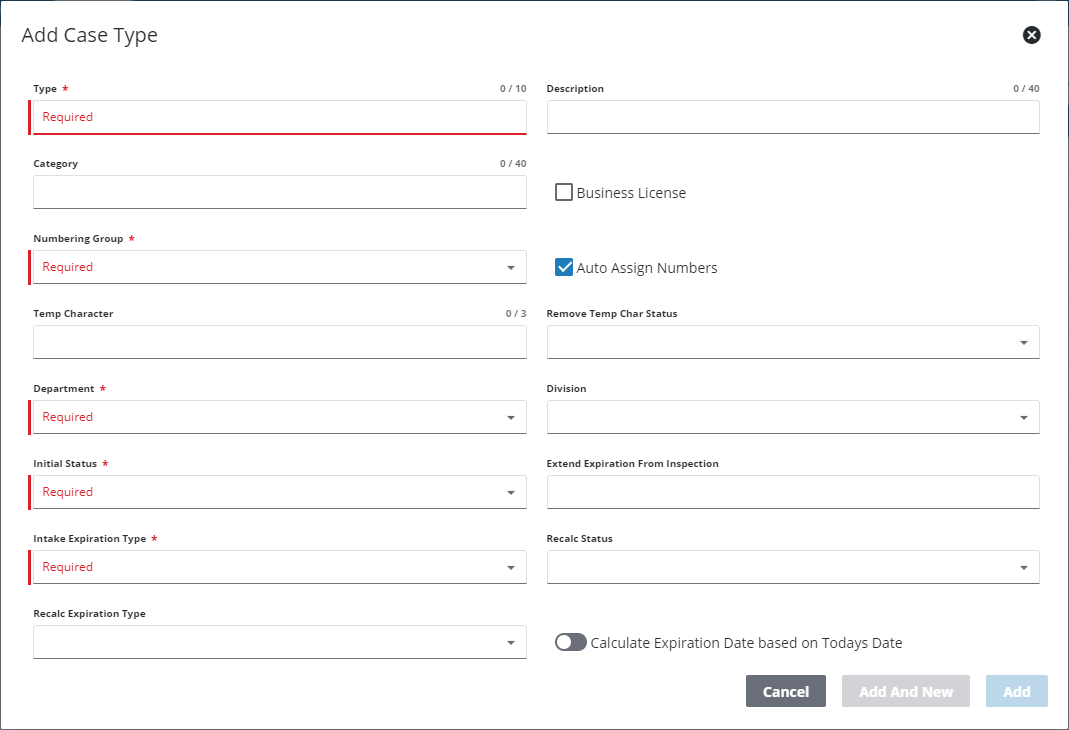
- Enter a code in the Type field. This code may be no more than 10 characters and cannot be changed once the case type is saved.
- Enter a detailed explanation in the Description field. This field is limited to 40 characters.
- A Categoryis an optional organizational tool. If a category label is entered, it appears on the Case Types panel and allow users to sort case types by category.
- Select the Business License check box if this case type serves as a business license.
- Use the Numbering Group drop-down list to select a numbering group from a predefined list.
- Select the Auto Assign Numbers check box to enable automatic numbering. If this check box is not selected, users must enter a case number manually for every case based on this case type.
 IMPORTANT: In order to use a case type or template in Respond or Public Access, the Auto Assign Numbers check box must be selected.
- If desired, enter a character in the Temp Character field. This character is added as a prefix to the case number until a specific status is reached.
- Select a status code from the Remove Temp Char Status drop-down list that initiates the removal of the temporary character.
- Use the Department drop-down list to select a department from a predefined list.
- Use the Division drop-down list to select a division the case is assigned to.
- Use the Initial Status drop-down list to select the starting status code from a predefined list for all new cases of this type.
- The Extend Expiration From Inspection field allows you to automatically extend the expiration after a completed inspection.
- Use the Intake Expiration Type drop-down list to select the active time frame for the case from a predefined list.
- The Recalc Status specifies which status code prompts an expiration date recalculation
- The Recalc Expiration Type specifies the grace period before the case officially expires.
- Turn on Calculate Expiration Date based on Todays Date to set the new expiration date as the current date plus whatever is defined for the Recalc Expiration Type, when the case status reaches the Recalc Status defined on the case type
- Click Add or Add and New to add the case type and create another one.
NOTE: The Review Config panel provides visibility of where a selected data item (such as a case type, user, status code, or other Trimble Unity Permit item) is being used. See Review Permit Configurations for more information.

