Create a Form
Create a form from the All Forms page. A form can also be created from the work activity template. See Associate Forms to a Work Activity Template for more information.
|
|
 PREREQUISITES:
- From the home page, click Configure and click Work Activity Templates.
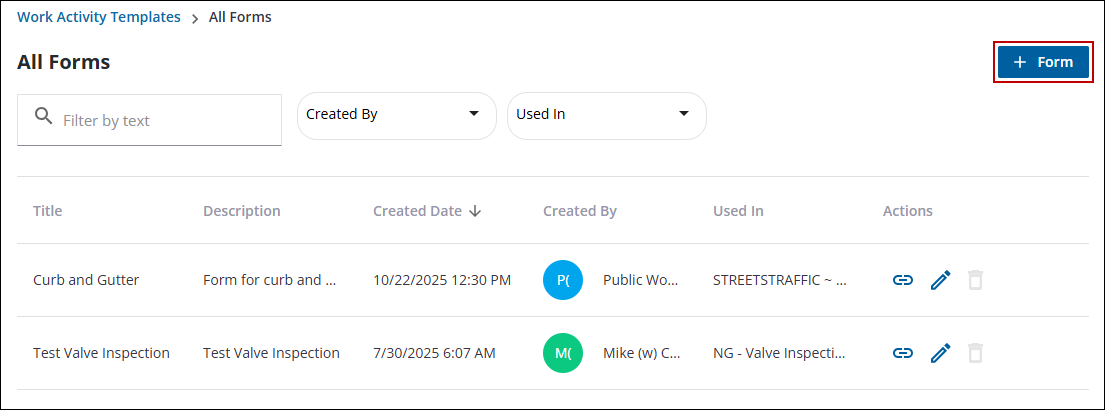
- Click the All Forms tab.
- Click Form on the upper-right corner.
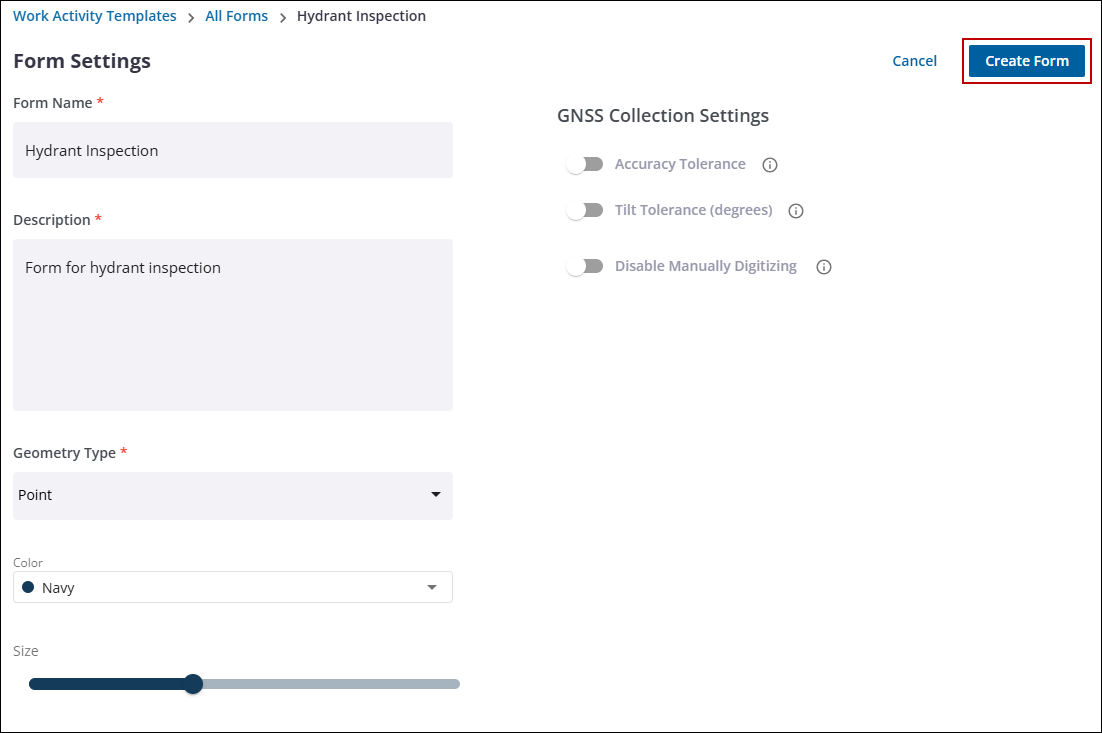
- Add the form information in the Form Name and Description fields.
- Select the Geometry Type from the drop-down list.
- If Point is selected as the Geometry Type, select the Color and Size for the symbol.
- Select the GNSS Collection Settings for the form. See Forms in the Trimble Unity Field Guide for more information.
- Accuracy Tolerance
- In the Value field, enter the threshold setting in meters or feet.
- Select meter or foot as the Unit.
- Select the Allow Forced Collection check box to allow a forced collection of data if the threshold isn't met.
- Tilt Tolerance
- In the Value field, enter the threshold setting in degrees.
- Select the Allow Forced Collection check box to allow a forced collection of data if the threshold isn't met.
- Disable Manually Digitizing: Turn this switch on to force users to collect location using GPS rather than manually selecting a point on the map.
- Click Create Form.
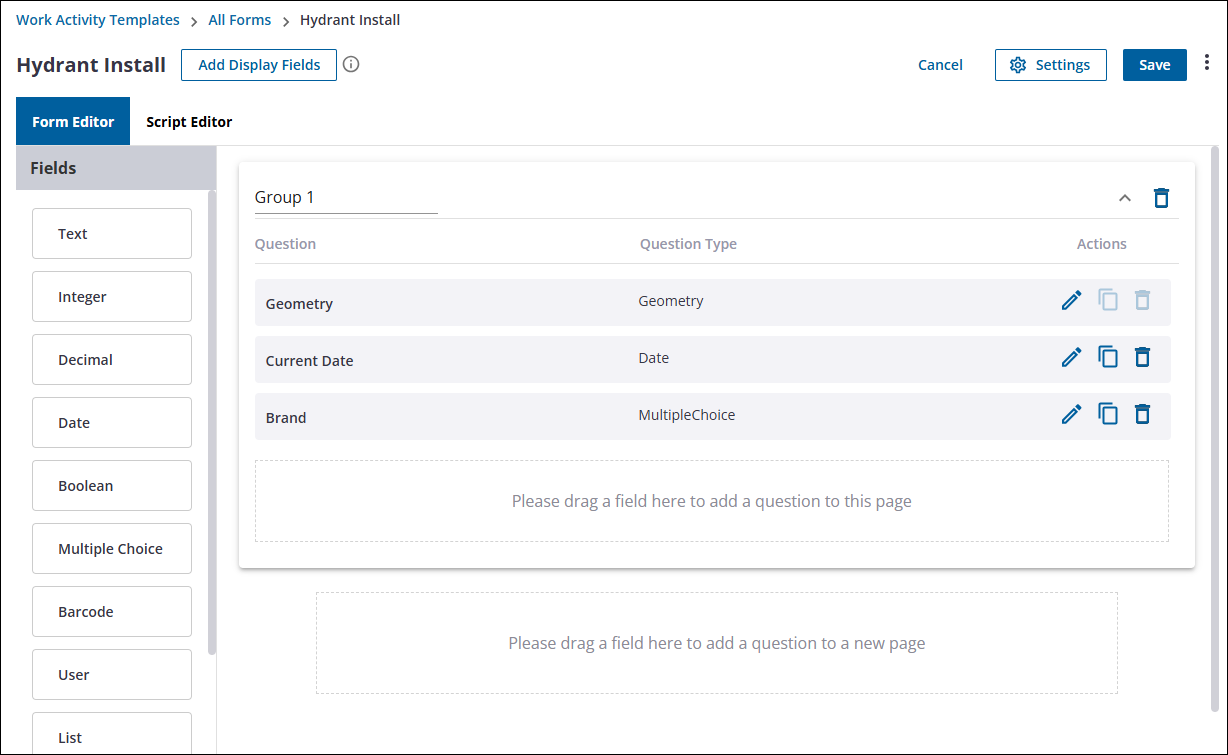
The Form Editor opens to complete building the form.
- Drag a field from the Fields section into the page wanted. Adding it to the panel below would create another group, or page on the forms.
The Fields include:
- Text: Click and drag to add a field the user can manually enter a response in. A default response can be added if wanted that appears automatically, but can be edited.
- Integer: Click and drag to add a field the user can enter an integer in.
- Decimal: Click and drag to add a field the user can enter a decimal in.
- Date: Click and drag to allow the user to select a date.
- Boolean: Click and drag to add a field that users can select yes or no to.
- Multiple Choice: Click and drag to add a field that has multiple options a user can select from.
- Barcode: Click and drag to add generic barcode scanning.
- User: Click and drag to allows users to be assigned to the form.
- List: Click and drag to allow child fields to be grouped together in a list. For more information on how to configure this, see Configure a List Field.
- Signature: Click and drag to allow a signature to be captured.
- Group: Click and drag to create another group of field. Adding a new field below the last group, also creates another group automatically.
- Geometry: Click and drag to capture position information of the asset.
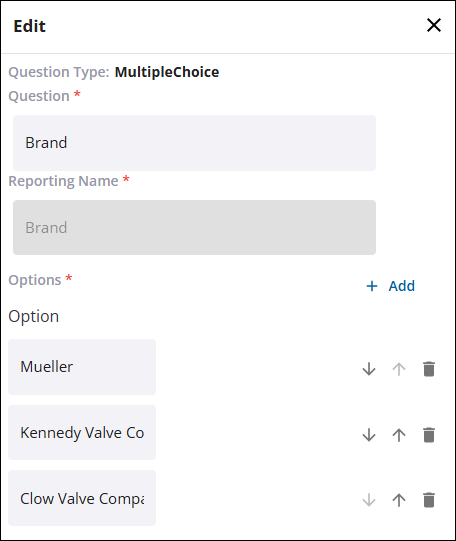
- Fill out the information for the new field in the Edit panel on the right-side.
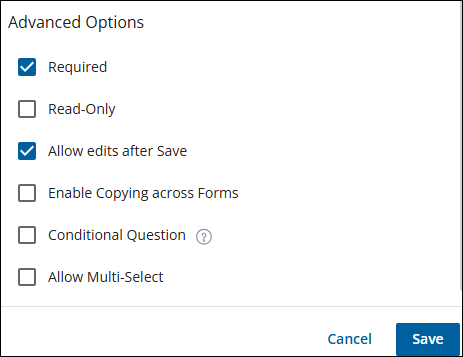
- Select any of the check boxes in the Advanced Options that you want to apply to the field.
- Required: Marks this field as required.
- Read-Only: Marks this field as read only.
- Allow edits after Save: Marks this field as editable after it is saved.
- Enable Copying across Forms: Marks this field as able to be copied across forms.
- Conditional Question: Marks this field as a conditional question. Conditional questions appear if any or all of the specified values are selected, otherwise they are hidden.
- Allow Multi-Select: Marks this field as able to select multiple answers.
- Expression for Default: Allows a default value to display in the field.
- Click Save.
- To edit existing fields, click the Edit Field icon under Actions to the right of the field.
- To copy a field, click the Copy Field icon under Actions to the right of the field.
- To remove a field, click the Delete Field icon under Actions to the right of the field.
- To remove an entire group, click the Delete Group icon in the upper-right corner of a group.
- Click save in the upper-right corner of the form editor to complete the form.

