Create a Container
A container is used to group other report controls, highlight parts of a report, anchor controls, create visual effects with borders, or display background images. When using a container, items are dragged into the container rather than drawing the container around existing items.
 BEST PRACTICE: Containers are best used with hard coded values, or if you only want one result returned for a field. If multiple results are wanted, a banded list works best. If you are experiencing display issues with your report, try switching to a banded list.
- Click somewhere in body of your report.
- Select Container from the AR Web Designer toolbar to insert it.
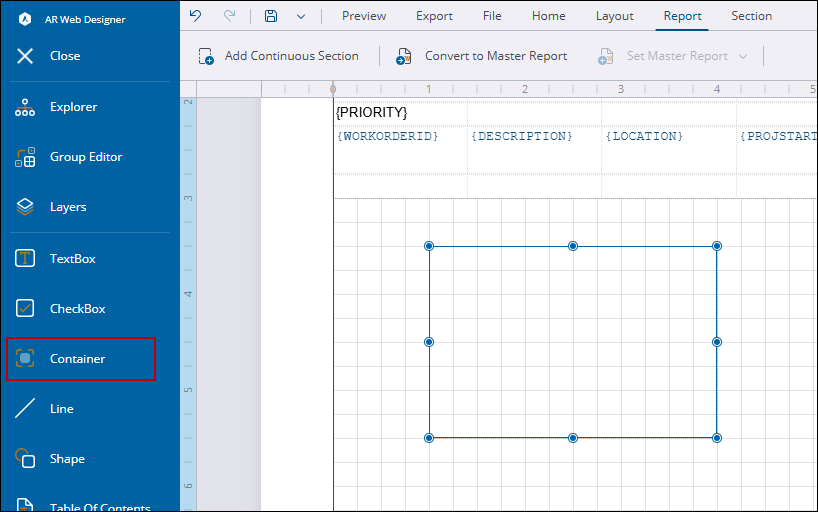
- Resize the container to your desired dimensions
- Select the container and open the Properties tab on the right.
- In the Layout section, turn Keep Together on to ensure the repeated data within the container stays on one page.
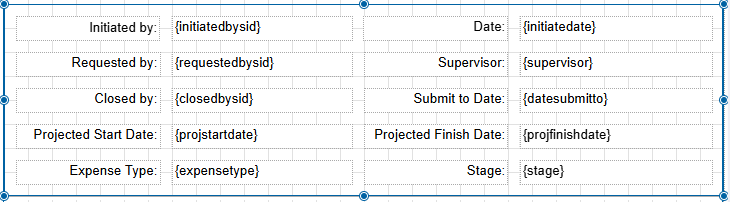
- Insert fields one at a time into the container and arrange the fields as desired. See Add Fields to a Report for more information.
- Use <Ctrl + click> to select all of the fields to add formatting, such as alignment, size, font color, bold text, or background color, all at once on the Properties tab in the Text section.
- Now select the container to move everything as one unit to the spot wanted.
- Click Save.
- Click Preview to see if the report looks as expected. See Preview a Report for more information.
Other things can be added into containers, such as images.

