Migrate to Trimble ID
For a current Trimble Unity customer, complete the following steps to migrate to using Trimble Identity.
A member of Trimble will reach out to you and prepares you for the Trimble ID migration. As part of the preparation, Trimble will designate a first Trimble ID account administrator user for your organization and send an email invitation to that user.
- When you receive the email invitation, complete the following steps under the Account Administrator section in Create a Trimble ID to create your Trimble ID account.
- Once your Trimble ID account is successfully created, complete the following:
- Visit https://myprofile.trimble.com, and confirm the correct account is displayed under the Account management section. If not, click Switch Account to set the correct default account.
- Visit https://accountsecurity.id.trimble.com/. If you can open the page and see the Trimble ID password policies for your organization, that means your account is successfully created with the correct privilege. Don’t worry about remembering this site because it is embedded in the Trimble Unity application. This is just a quick permission check.
- In Trimble Unity, verify that your user's email matches your Trimble ID email. See Add or Edit an Employee for more information.
Once the account administrator is set up, you need to set up your Trimble ID and GIS integration. See Trimble Identity and GIS Integration Setup for more information.
Once Trimble ID and GIS integrations are set up, notify the Trimble member who reached out to prepare you for the Trimble ID migration, and designate a time to turn on Trimble ID in your site.
The moment Trimble ID is turned on in the site, the Trimble Unity login page:
- Disables the old form login fields
- Enables Trimble ID login
- Maintains GIS login options until full migration is complete
|
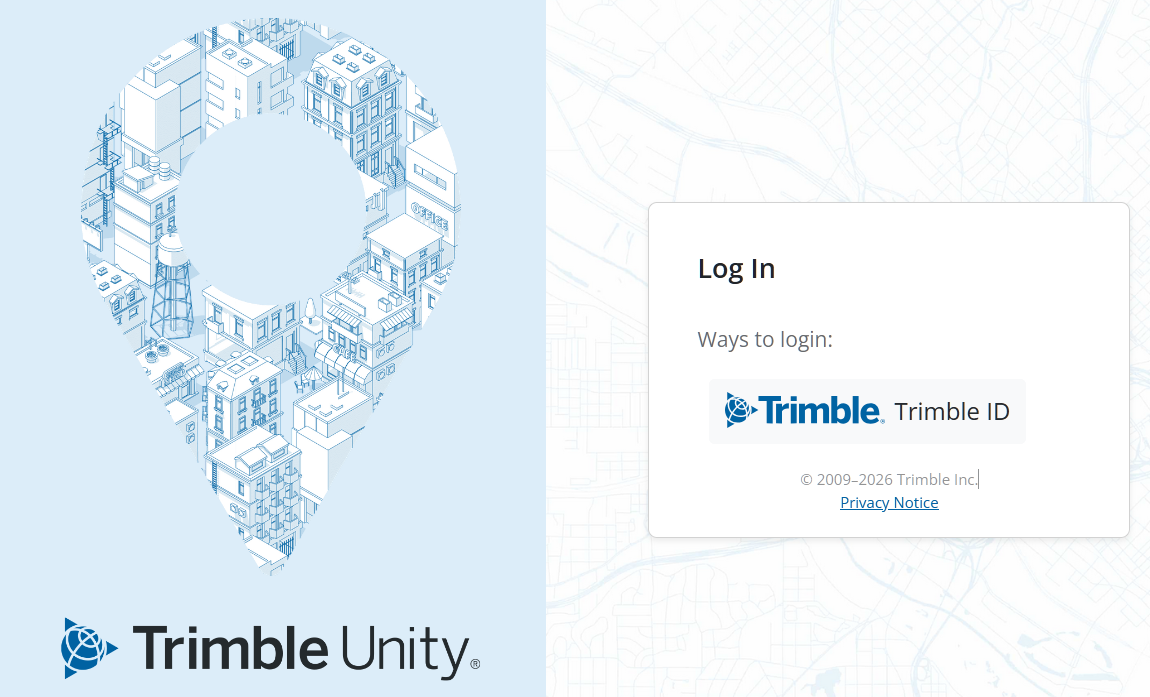
Once Trimble ID is turned on, the Trimble Unity login page looks like the following: Only Trimble ID Login Option
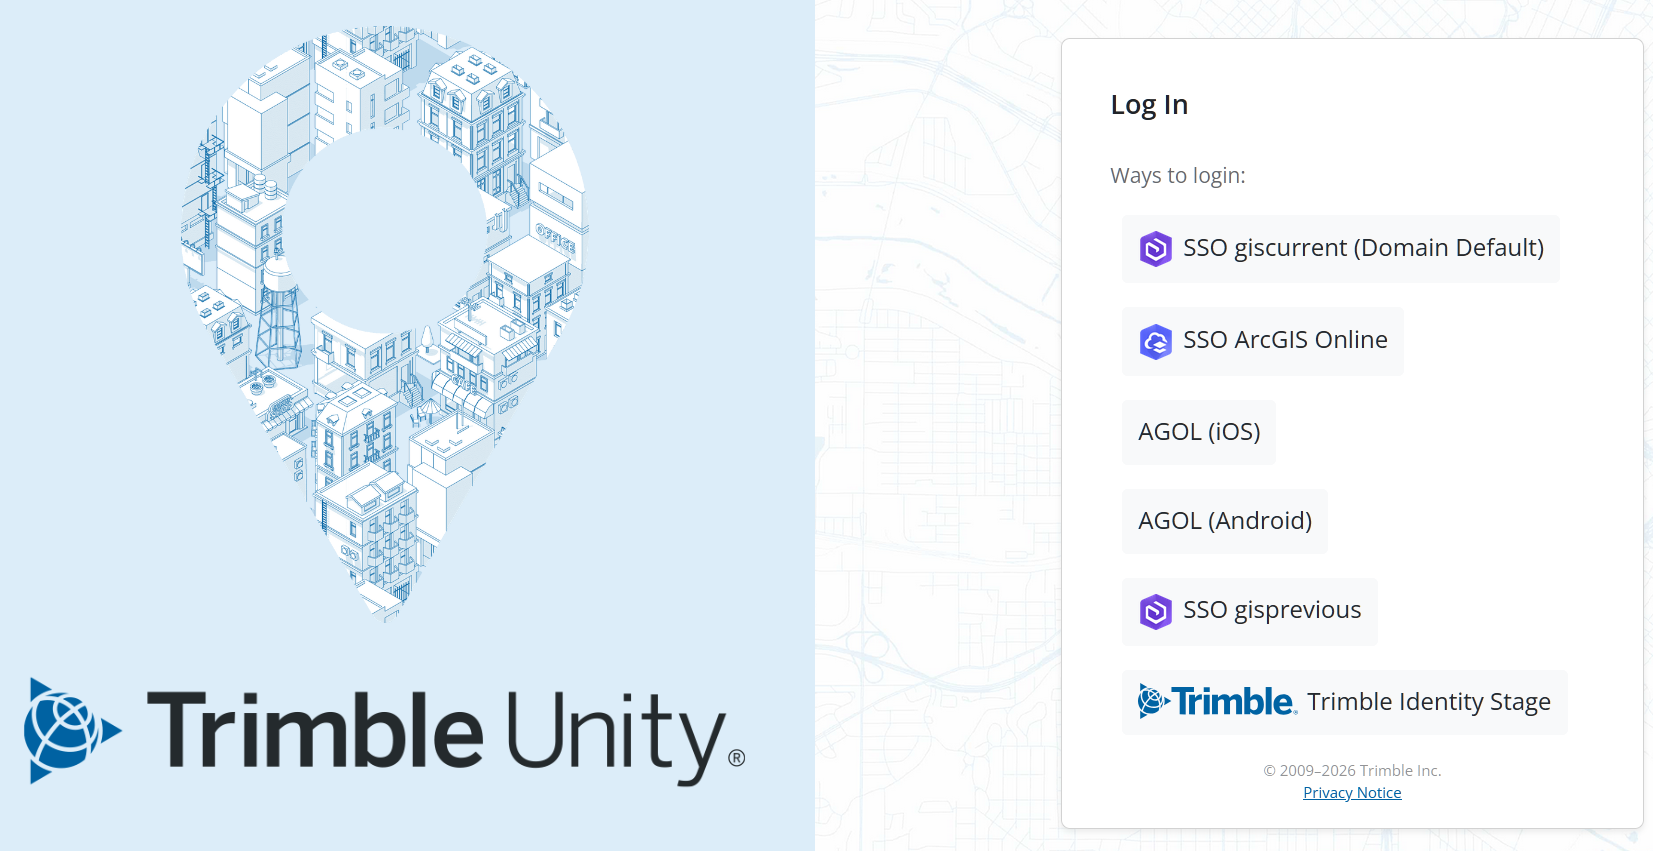
Trimble ID Login and GIS Login Options
|
 EXAMPLE
Once Trimble ID is turned on in the environment, the account administrator needs to log in to Trimble Unity to invite users to use Trimble ID.
- For the account administrator, use the bulk invite functionality to send out Trimble ID invitations to multiple users. See Bulk Invite Existing Users to Trimble ID for more information.
- For the end users, they receive a Trimble ID email invitation and need to complete the following steps under the Additional Users section in Create a Trimble ID to create their Trimble ID account.
- The account administrator should confirm with the users that they can log in with their Trimble ID on the Trimble Unity login page once they have created their Trimble ID.
Setting up Identity Federation with Trimble ID is optional. This is only needed if you want to bring your organization’s enterprise Identity Provider (IdP) to Trimble ID, such as Microsoft Entra ID (formerly Azure AD), ADFS, Okta, and Google.
 NOTE: This Identity Federation setup is completely with Trimble ID, and not with Trimble Unity or ArcGIS. Trimble ID supports either SAML or OIDC as the federation protocol.
- Complete the instructions on the Federations page to setup Identity Federation with Trimble ID. We strongly recommend including your IT department in this step because it involves configuration in the enterprise Identity Provider (IdP) solution.
Congratulations! Once the previous steps have been completed, you have successfully migrated to Trimble ID in Trimble Unity. You can safely turn off the GIS login options that were created for the original Single Sign-on purposes.
- In Admin, click the Admin tab and click OAuth2 Clients. You must be an administrator to access the Oauth 2 Clients page.
- Select the client and clear the Active check box.

