Create a Panel
You can organize Style functionality in a way that fits your individual needs by creating panels and moving Style controls (such as tabs, buttons, etc.) to those panels.
|
|
 PREREQUISITES:
- Select the Plugin and the Profile you want to customize. See Select a Plugin to Customize for more information.
In addition to the Controls and Layout Strings panels, there is a Layout panel added to the top of the page. The Layout panel is the developer view of the Controls panel. It allows you to view all the controls at the same time and how it will be laid out on the page.
You can use the Controls or Layout panels to insert, move, or remove containers, tabs, panels, or accordions.
- From the Controls or Layout panels, select the control you want to add a panel after or in (such as a container, panel, tab set, etc.).
- In the Control Details panel, click Insert Panel.
When you click Insert Panel, a panel is added after the selected control.
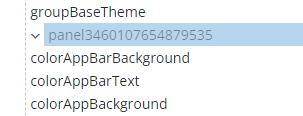
Panels contain controls (such as other panels, containers, tabs, buttons, etc.).
- Rename the panel's Control Id to help you easily differentiate between multiple panels and what they include. Such as Panel1, PanelLeft, PanelWorkCycle.
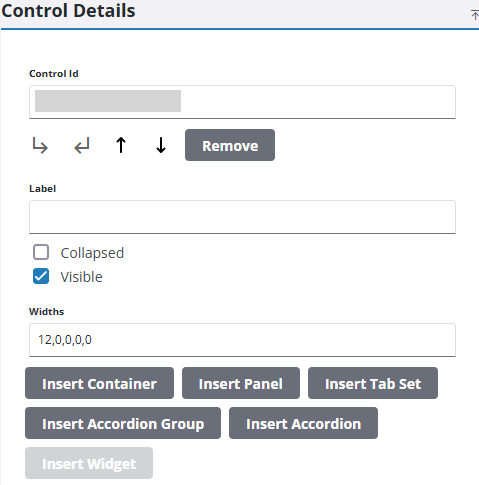
- Enter a width for the panel.
The Widths field allows you to set breakpoints for devices that users may use, such as phones, tablets (portrait or landscape), desktop, or 4k screens. Breakpoints use a scale from 0 to 12 because web pages commonly have 12 column grids. Therefore, the scale specifies how many grids to take up on a web page and divides it by 12. For example, 9 divided by 12 is 75% of a screen's width.
There are five breakpoint values separated by commas in the width field that determine the width (breakpoint) of the screen for phones, portrait tablet, landscape tablet, desktop, or 4k screens.
 NOTE: When you enter the widths, keep in mind that 0 uses the value of the previous breakpoint (or defaults to using the full screen if it is the first breakpoint value) and 12 means full screen; anything between 0 and 12 will be divided by 12 and use that amount of the screen for that device.
|
If you enter 12, 6, 12, 0, 6 for the value in the Widths field, it will affect the devices in the following way:
|
 EXAMPLE
- Enter a Label for the panel. This is what the users viewing the profile will see.
- Select a control and move it to the panel. See Move a Control or Panel for more information.
NOTE: A panel will be grayed out and not visible until a control is added to it.
- Move more controls as needed to the panel.
- Select the panel and click Remove to remove it.
- Click Save Profile in the Profile panel.