Add a User
This section discusses how to add and configure new Permit users.
|
|
 PREREQUISITES:
 NOTE: Multiple records can be added or edited at the same time. See Perform a Bulk Export or Bulk Import for more information.
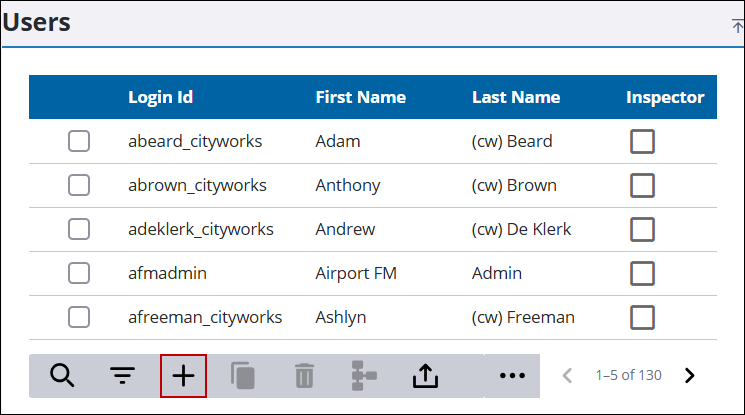
- Click Permitting then Users from the home page, or for quick access, begin typing "users" into the search field and select from the results.
- On the Users panel, click Add record.
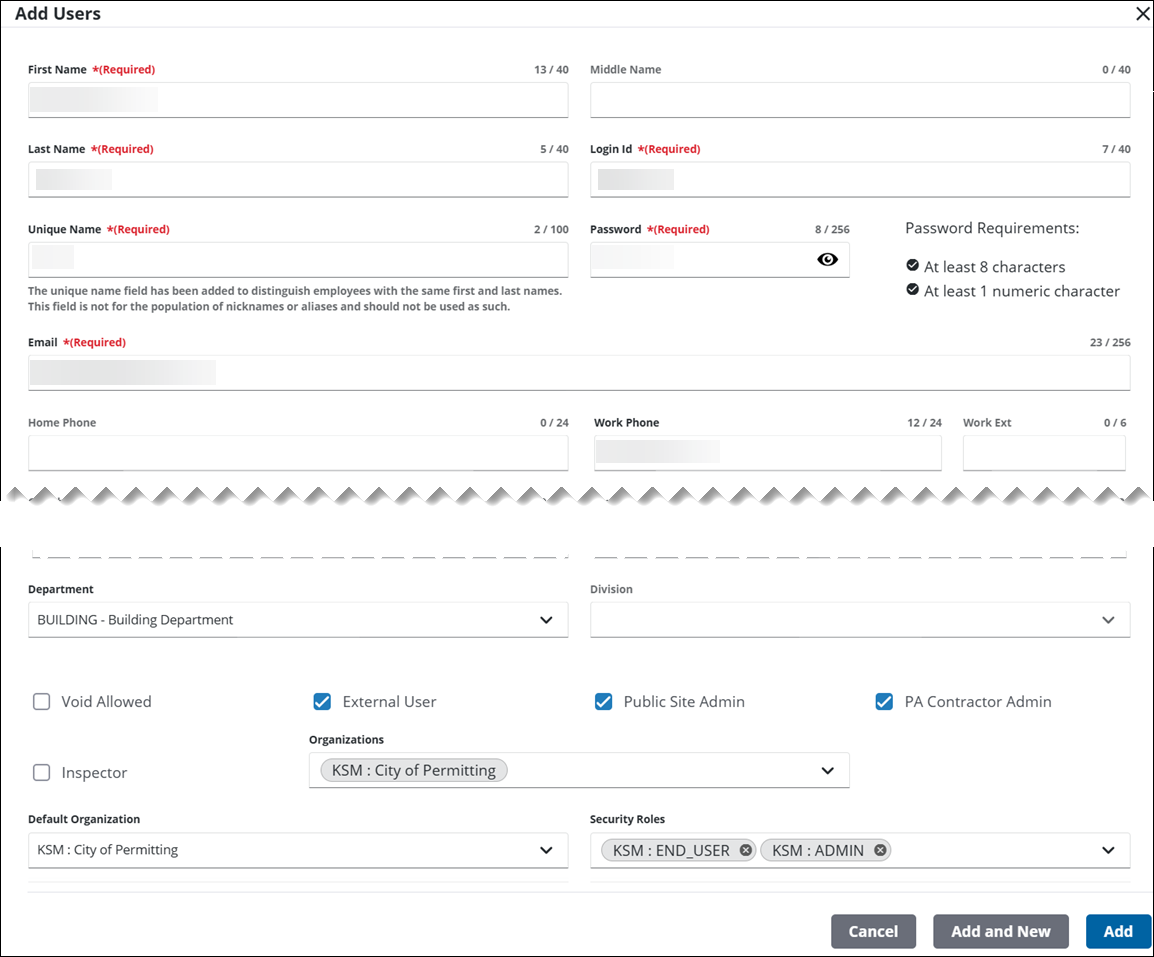
- On the Add Users panel, enter the user's name in the First Name and Last Name fields.
- If Trimble Identity is configured for the site, turn on Invite to Trimble Cloud to automatically invite the new user to create a Trimble ID.
NOTE: While a new permit user can be invited to Trimble ID on the Users page, their Trimble ID accounts must be managed on the Employees page. See Assign a Role for Trimble ID and Manage Trimble ID Status for more information.
- On the Unique Name field, enter an additional name, if needed, to distinguish the new employee from one or more existing employees who have the same first and last name.
- In the Login Id field, enter a unique identifying code for the user.
- In the Password field, enter a preliminary password for the user.
- In the Email field, enter the user's email address.
- Enter as much contact information for the user as possible.
- Use the Department drop-down list to select the department the user belongs to.
- If applicable, use the Division drop-down list to select the division the user belongs to.
- The Void Allowed check box is currently under development.
- If applicable, use the External User check box to designate the user as an external user.
- Select the Public Site Admin check box to give the user administrator permissions for Public Access.
- Select the PA Contractor Admin check box to give the user access to the Contractor Admin page in Public Access.
- Turn Active on to designate the user as active, and off to designate the user as inactive. This switch is only visible when editing an existing user.
- Select the Inspector check box to designate the user as an inspector and eligible to receive inspection tasks.
- Use the Organizations drop-down list to select the organization (or organizations) the user belongs to.
NOTE: Organizations are configured in Admin by the administrator. See Organizations for more information.
- Use the Default Organization drop-down list to select one of the user's organizations as their default organization.
- Use the Security Roles drop-down list to select which security role (or roles) the user belongs to.
- Click Add to add the user or click Add and New to create another user.
NOTE: If any password requirements have been set by the administrator, the user sees all of the requirements they must meet while creating a password, as well as an X or a green check mark to indicate whether or not the password is acceptable. You cannot click Add until the password meets the requirements set by the administrator. See Configure Global Preferences for more information.
NOTE: The Review Config panel provides visibility of where a selected data item (such as a case type, user, status code, or other Trimble Unity Permit item) is being used. See Review Permit Configurations for more information.

